Showing posts with label exciting. Show all posts

Tuesday, April 2, 2013

Hot and cold reactions

As part of our recent Chemical Reactions Workshop, we explored endo- and exothermic reactions. Many chemical reactions create light, heat or other forms of energy. An exothermic reaction is one in which heat is made and released by the reaction. The term is obvious if you look at the roots: ex = out/outside, therm = heat. Therefore, endothermic (en = in/inside) is a reaction where energy (in the form of heat) must be pulled in for the reaction to occur.

Both are fun and easy to demonstrate. Grab the following supplies:

  • 2 Styrofoam cups (reusuable insulted cups are even better)
  • 1 thermometer
  • baking soda
  • citric acid (you can find it with the canning supplies in the grocery store)
  • hydrogen peroxide
  • a packet of yeast
For the first reaction, create a baking soda solution by adding baking soda to warm water one teaspoon at a time, stirring after each addition. Stop when no more will dissolve. Let the solution cool to room temperature, then place it in your cup. Use the thermometer to check the temperature. Add a teaspoon of citric acid. The solution will fizz and the temperature will drop. Keep adding citric acid and see how low you can make the temperature go. This is an endothermic reaction. Kids can put their fingers into the solution to feel the cold directly. Just wash your hands afterwards.


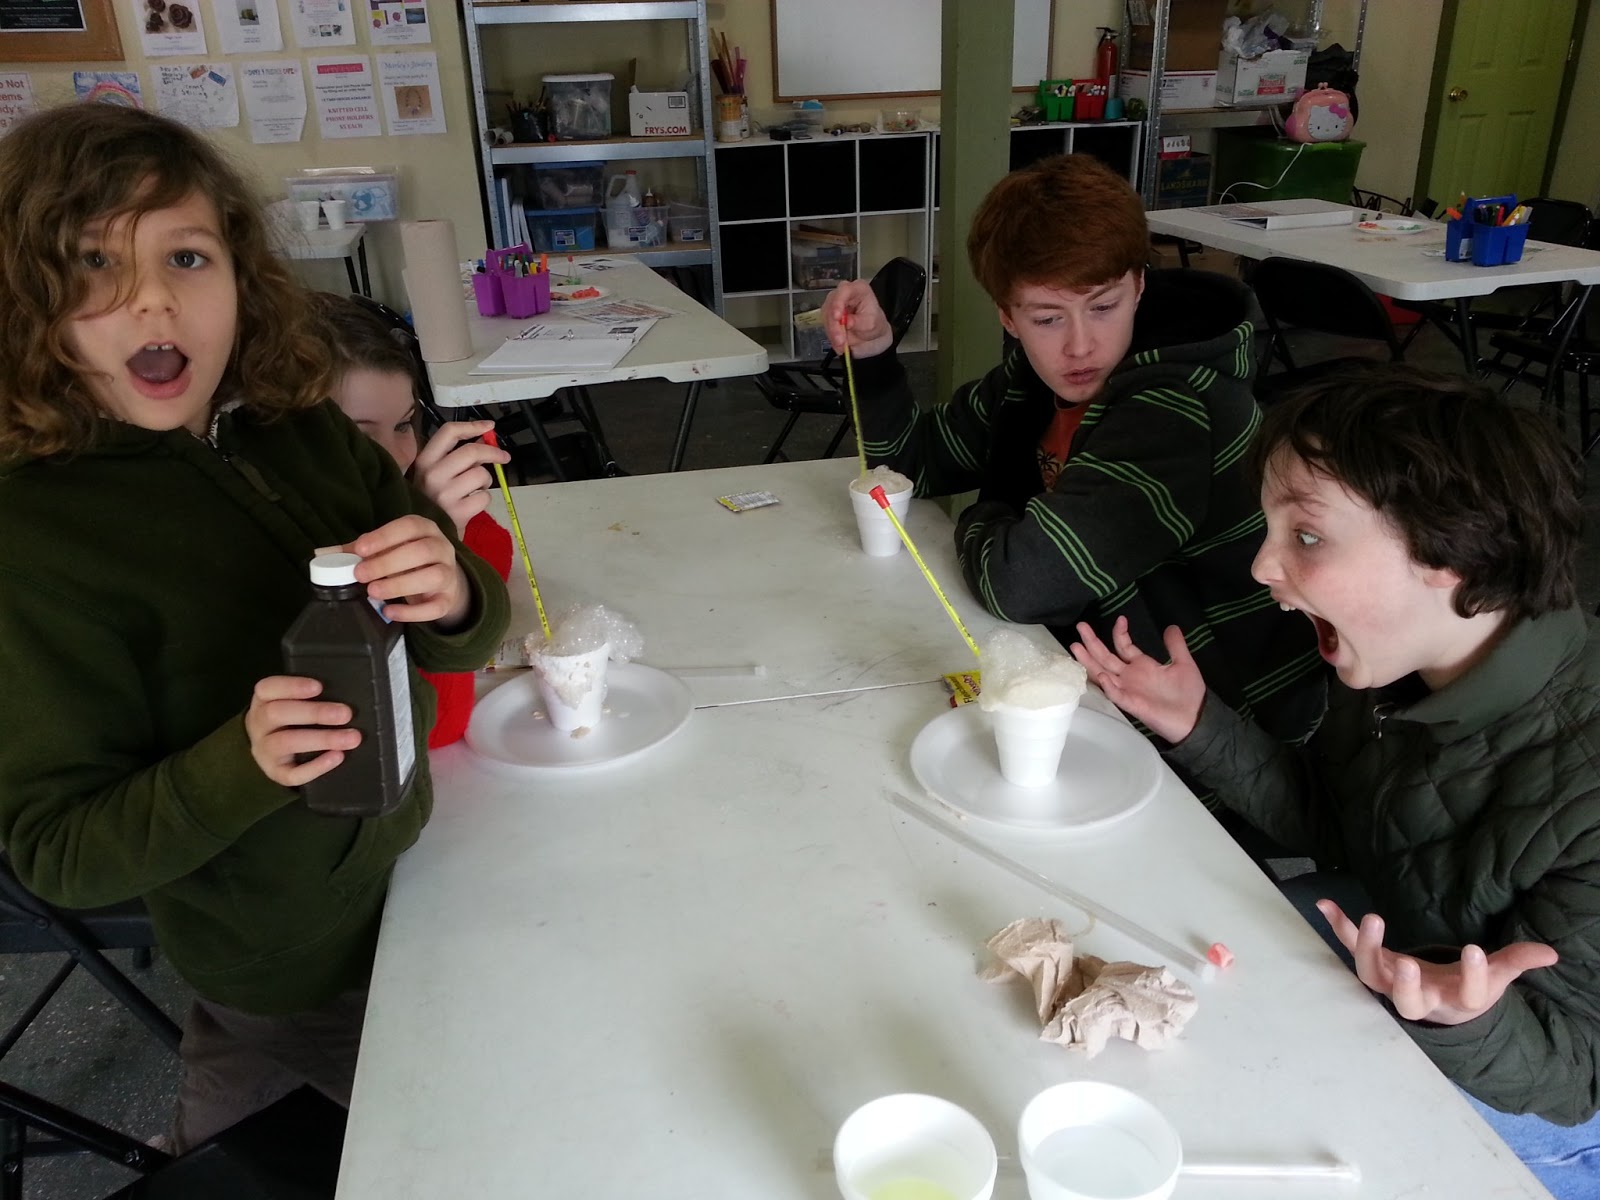
For the second reaction, we're going to generate heat through a decomposition reaction. Fill your cup with hydrogen peroxide. Check the temperature. Slowly add the yeast, a little at a time. Soon you'll have a big bubbling mess and spike in the solution temperature. Keep feeding the reaction. How high will the temperature go? Again, kids can touch the solution without fear. 


Older student may enjoy exploring the concepts of enthalpy and entropy as well. Have fun playing! Let me know what you discover!

Wednesday, March 27, 2013

Making Matters: 5 things to do with paper towel rolls

We all know that toilet paper and paper towel rolls are one of the all-time classic craft supplies in the typical classroom. Which is awesome -- I love toilet paper owls and other fun projects made from these upcycled marvels. But what about using such humble supplies for science? Here are five projects
to try at home.

Ok. One toilet paper roll owl. I can't help myself.
  1. Marble Slides -- Break out the masking tape and get ready to have some fun! Using whole and halved rolls, junior designers can attach tubes to any wall creating multi-layered slides for marbles to zig-zag towards the floor. If you want to get some motion going, try attaching rolls to foam board using brass brads or tacks!
  2. Spectroscope -- Find all the colors of the rainbow in white light. Using black construction paper, cut a circle the size of the paper towel roll opening. Cut this circle in half. Tape half of the circle to one end of the roll, being sure to tape well around the edges. Attach the other half circle to the same end, leaving a narrow slit across the center. Again, tape well at the edges. Now,with your eye at the open end, look at a CD held near a light source (an incandescent bulb just behind the bulb is great). The CD will diffract the light, breaking it into a rainbow that you can see through the slit. Wow!
  3. Kaleidoscope -- Cut you paper towel tube to 8 inches. Longer will make it tough for enough light to travel to the eye. Use black construction paper to cover one end of the tube. With a pencil, poke a hole in the paper. Use clear tape and apiece of clear cellophane or acetate (a report cover, a transparency, etc.) to create a triangular tube that will fit inside the tube. Slide it in. Cover the other side of the tube with plastic wrap, pushing it down to make a little pouch and securing it with tape or a rubber band. Add beads, sequins, gems or anything small and shiny. Cover with another piece of plastic wrap and secure in place. Now hold it to the light, look through the hole and enjoy the power of reflected light as it creates an amazing display!
  4. Telescope -- Using construction paper create a roll that can just fit inside the paper towel roll. Ideally, you'll want two double-convex plastic or glass lenses, one 150 mm and the other 300 mm. If you can't come by those, try magnifying glasses - one larger and weaker and the other smaller and more powerful. You may have to experiment with different options. Tape the smaller lens onto the construction paper tube. Tape the weaker one onto the cardboard tube. Then fit the open end of the construction paper tube into the open end of the cardboard tube. Look through the stronger lens. Move the construction paper tube in and out until the object you're looking at is focused. 
  5. Pulley Towers -- Grab some old thread spools, bamboo skewers, cotton string and toilet paper rolls to explore one of the most fun simple machines. Use the rolls to make two towers -- feel free to go big, stacking two of three rolls together. To form the base, cut slits into the bottom of the tower, spread out the "feet," then tape them to a table. Thread the spools onto the skewers and place them between the towers, poking holes into the cardboard as needed. Then it's time to play! Use the string wound in various ways through the pulleys to see how the number and placement of affects the what you can lift.
    That is one complicated pulley system!
Whew! That's a lot of fun with paper towel rolls. I'm going to take a bit of break. Come back later this week for 5 MORE fun ideas!