Can you design two sleds -- one fast and one slow -- to deliver our Secret Agents to the lair of the evil Mr. Fluffly? You'll need to balance the effects of gravity and friction to make your design work. Join in the engineering fun with this installment of the Super Secret Science Challenge!
This week's suggested supplies:
2 cardboard or plastic trays
2 drinking straws
2 bamboo skewers
2 pencil
2 pipe cleaners
4 binder clips
4 paperclips
1 piece of copy paper
1 piece of wax paper
1 piece of plastic sheeting
1 piece of cotton fabric
4 old AA or AAA batteries
Assorted tapes -- invisible, masking, duct, packing, etc.
A small toy to act as the pilot
A wood plank, plastic rain gutter, or other material to act as the track
For this week's challenge, students will need to play with the balance between the force of gravity (and weight) on the sled and the friction between the sled and the track. The position of the pilot and any ballast (like the batteries or binder clips) can make for a great discussion about the center of gravity.
Meanwhile, the decision between using a flat bottomed design, versus one with runners leads to an excellent discussion about how friction works. (The more contact, the more friction.) Additionally, the materials selected for the bottom of the sled (or even for a parachute behind it) can greatly affect how fast the sled moves on the track.
You can use anything you want as a track, but make sure the starting point and end point are clearly defined. The angle of the track will greatly affect the way the sleds run, as will any curves or bends. This can be fun for experimentation.
This week we have new heroes on our side: The B Team. They need to parachute into enemy territory and bug Mr. Fluffy's Lair! Are you the right Science Officer for the challenge? Let's find out, with this week's Super Secret Science Challenge!
Today's list of suggested supplies are:
1 yard of string
1 plastic shopping bag
1 sheet of newspaper
3 sheets of copy paper
1 lunch bag
5 coffee filters
1 8.5x11” piece of aluminum foil
A small paper cup
8 paper clips, assorted
1 pipe cleaner
Various tapes -- invisible, masking, duct, etc.
A small toy as the pilot
To make this challenge even more fun, give your scientist two goals: create a parachute with the longest hang time possible and try to land right on a target. I drop my parachutes from a height of 2 meters (roughly the height of a door frame) with the feet of the "B Team" member as the bottom of the unit. Encourage students to create more than a single parachute for the challenge, as it can be tough to meet both objectives with one or, allow students to move the target to where they predict the parachute will land.
A parachute is a fairly simple creation. It's primarily composed of a canopy made of some type of material, which creates lift (and drag) through the frictional force of air resistance. The parachute is connected to the pilot, who is held in a harness, by lines that connect to the canopy. The pilot is pulled by gravity towards the ground.
Good luck Agents! Hope you have fun making your creations!
The family and I are on our annual holiday trip to Fairfield, CT, visiting my in-laws. One of our favorite places to check out while up north is the Discovery Museum in Bridgeport, CT. They have a great Planetarium, several permanent exhibits -- a whole floor on space, and energy exhibit, a sound and light gallery, sport science and LEGOs -- as well as visiting exhibits that change twice a year. Recently the museum added a First in Flight exhibit in tribute to Gustave Whitehead as well.
Let's start with Gustave. I know most of us think Wright Brothers when we think First in Flight, but folks in Connecticut can get fussy about that. See, research Jon Brown, building on the work of locals Stella Randolph, Andy Kosch and Retired Air Force Major William J. O’Dwyer, recently showed that Gustave Whitehead was in fact the first to build and fly an airplane. Whitehead's "Number 21" took off on the Bridgeport-Fairfield line on August 14, 1901, two years before the Wright's accomplished the feat. Discovery hosts a wonderful half-sized model of the plane as well as information about Whitehead.
The first visiting exhibit we encountered was the Adventure Science. This indoor low ropes course was a complete blast! The museum's website describes it as "highly interactive" and they aren't kidding. There are zip lines, climbing structures, bridges, ropes and more. The installation is meant to highlight the museum's new Adventure Park, a 5-acre aerial forest park opened last year. Both exhibits were designed by Outdoor Ventures, a Southport Company that specializes in such constructions.
The entire exhibit was designed to demonstrate scientific principles and physics concepts such as gravity, the interaction of forces and more. The exhibit also serves to educate about the natural sciences and structures of the forest, human physiology and even the psychology over interacting with the activities.
According to museum director, Jeffery Bishop, “The Discovery Museum is all about interactive learning and we saw this as an ideal way to capture people’s imaginations like nothing else. This exhibit will prove beyond a shadow of a doubt that science can be a lot of fun!” I'd say they met their goal. This exhibit is aces!
The second visiting exhibit was also full of hands on fun. "Take Flight" had activities for building paper airplanes, rockets and helicopters as well as great launchers to set them moving. My niece Maddie, loved using the metal tubes provided to shape rockets form plain paper. The bicycle pump launcher packed a punch, sending the rocket far and fast.
Caitie loved making heli-cup-ters and flying them in the vertical wind tunnel. Using a simple Italian ice cone, kids cut flaps along the edges to create a whirling flyer. Gwen preferred a more traditional folded paper model. Either way, the girls had a blast sending them zooming into the air over the blower. (Hint: To do this at home, try an inexpensive box fan on blocks and pointed towards the ceiling!)
Before leaving the exhibit we also gave the classic paper airplanes a try. The museum provided instructions for two examples, so that kids could compare how they flew while learning about lift and wing shape. The launcher here was similar to a much sturdier version of the rubber band shooter that's easy to attach to your own paper airplane at home. I loved the use of hula hoops and other targets!
While at Discovery, we also took in a show at the Planetarium. In addition to various educational movies, the museum offers "The Skies Tonight" shows that cover the constellations, planets and other heavenly bodies you can find at that time of year. They even provide a star map to take home, to help you out once you're in the dark. The presenter was very thorough, interesting and knowledgeable, but kept the presentation quick paced enough that it was perfect for kids. (The museum suggested ages 8 and up, but my 7-year-old had no trouble sitting through the presentation.
The presenter also showed a great short movie entitled, "Two Small Pieces of Glass" about the 400 year history of the telescope. Produced by PBS in 2009 for "International Year of Astronomy," this fun film explained all about how telescopes work, how they've changed over time, how they've been used throughout history and how they continue to shape out knowledge of the Universe. Everything from basic refraction and reflection through red shift were covered using language than anyone can understand. And as an added bonus, PBS provides a whole teacher's guide with activities and further resources, so you can keep learning after the show.
As a side note, the film's plot was centered around a star party the two main characters were attending. The presenter encouraged us to look for and attend star parties in our local area. I MUST do this. Luckily, there are websites out there to help you find local star parties!
There are lots of little gems throughout the museum, from "The Sun as Art" photographs to the signed prints by Buckminster Fuller (below). Some of the exhibits are certainly in need of rehab, but still provide a lot of fun and education. Plan at least 3 hours to visit, so you can check out everything offered.
So if you happen to be anywhere near Bridgeport, CT between now and March 2014, you should definitely head over to the Discovery Museum and check out all their great exhibits. Have fun!
(Note: I was NOT compensated in any way by Discovery Museum or its affiliates. I just think it's a cool place. You should take a minute to donate!)
This week, field agents Misty, Sunshine and The Weather Weasel have been captured by the evil Mr. Fluffy. They need to build a super complicated, crazy contraption to distract the villain before he can use his Puppinator to change all of the world's dogs into cats!
This week's materials are:
6-4x6 and 2-3x5 Index cards
3 dixie cups
4 bamboo skewers
assorted cardboard (corrugated and chipboard)
6 feet of twine
10 paper clips
10 assorted rubber bands
2 marbles
1 ping pong ball
3 toilet paper tubes
1 balloon
4 drinking straws
4 pipe cleaners
2 clothes pins
10 tongue depressors
1 disposable spoon
masking tape and scotch tape
This week's challenge encourages students to build a Rube Goldberg Machines. These contraptions are designed to make simple tasks much more complicated, often with silly results. Aside from being tremendously creative projects that are a lot of fun to build, Rube Goldberg Machines also give students the opportunity to explore simple machines.
Simple machines -- such as inclined planes, levers, wheels and axles, pulleys, wedges and screws -- are mechanical tools that make work easier by changing the direction or amount of force used to complete a task. We use simple machines every day, and when we combine them, we can create complex machines. Challenge older students to identify examples of simple machines within their crazy contraption.
Have fun! And please, don't hesitate to share your pictures of your machines!
Despite its seemingly violent title, Mini Weapons of Mass Destruction: Build Implements of Spitball Warfare by John Austin has become one of my go-to books when I'm looking for a fun, easy project that doesn't require a fortune in supplies. Though the target audience for the book is clearly bored cubicle slaves, I've found that a lot of the projects make for great engineering builds and excellent physics experiments.
One of my personal favorites, which I build literally hundreds of times, is the tongue depressor catapult. This little beauty takes just minutes to make and costs pennies. But every kid has a blast with it. I've made my own adjustments, of course. Instead of gluing on a soda cap to make a bucket for ammunition, I just attach a disposable spoon. And rather than launching erasers, I love to shoot marshmallows. Now that tongue depressors come in so many fun colors, the projects are even more fun!
The book also has fun designs for other catapults and trebuchets, many based on historical reproductions. I've used it in class to explore how designs have change through time, as materials and technology have changed. Have students research each design then build their mini-weapon is a great integrated study, which doesn't cost a fortune.
Not every design is perfect; I've had some that took quite a bit of tweaking to work.However, for the shear number of designs and the creative play possibilities, this is one of my favorite books. In addition, the instructions are generally well-written, with clear black and white line-art diagrams of each step. That makes it something that many kids can explore on their own, building as they go.
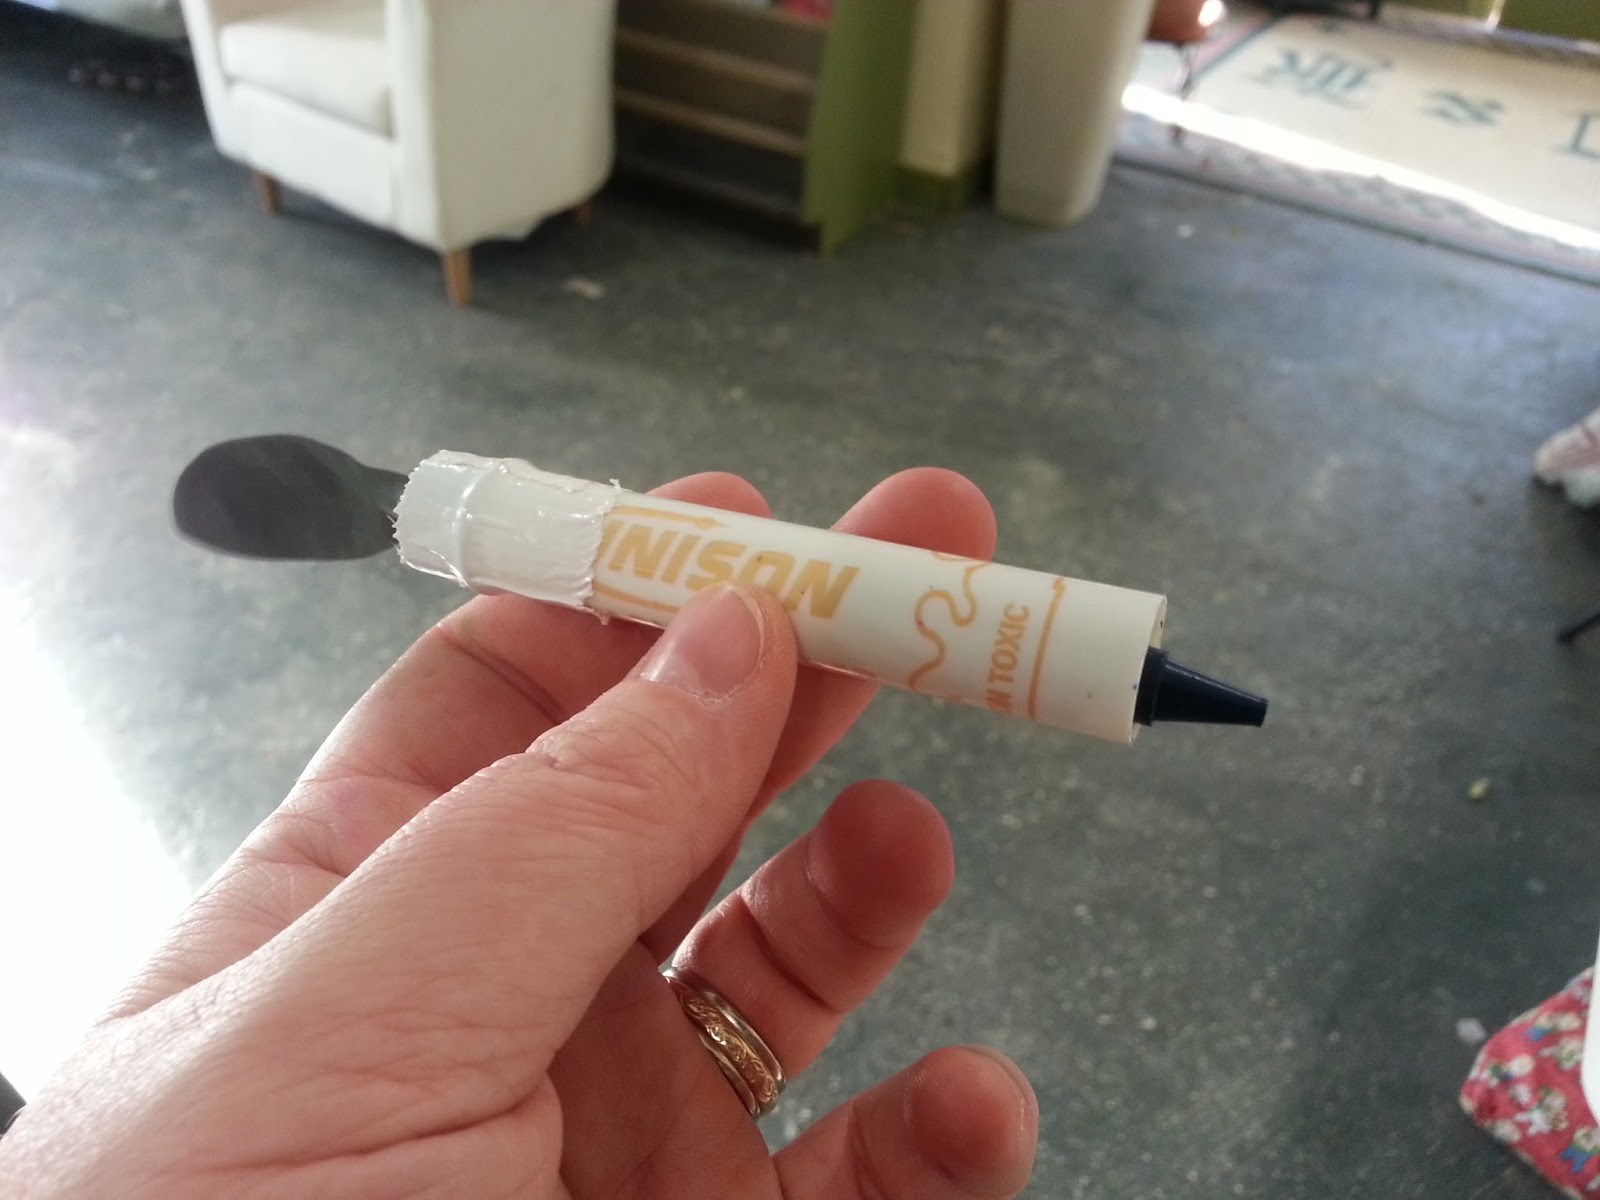
The book has a companion, written by the same author: Mini Weapons of Mass Destruction 2: Build a Secret Agent Arsenal. Once again, the designs are well-written and clearly illustrated and the content encourages a strong DIY vibe. I have made the oragami-style shooting star many times in many settings. And the recycled marker converted to a crayon launcher is pure genius. This book always gives me ideas for my spy classes and parties.
As I was writing this book review, I found that the author is at it again! He's published a third installment: Mini Weapons of Mass Destruction 3: Build Siege Weapons of the Dark Ages. I have, of course, ordered it. I'll let you know what my favorite projects are, just as soon as it arrives!
As part of our recent Chemical Reactions Workshop, we explored endo- and exothermic reactions. Many chemical reactions create light, heat or other forms of energy. An exothermic reaction is one in which heat is made and released by the reaction. The term is obvious if you look at the roots: ex = out/outside, therm = heat. Therefore, endothermic (en = in/inside) is a reaction where energy (in the form of heat) must be pulled in for the reaction to occur.
Both are fun and easy to demonstrate. Grab the following supplies:
2 Styrofoam cups (reusuable insulted cups are even better)
1 thermometer
baking soda
citric acid (you can find it with the canning supplies in the grocery store)
hydrogen peroxide
a packet of yeast
For the first reaction, create a baking soda solution by adding baking soda to warm water one teaspoon at a time, stirring after each addition. Stop when no more will dissolve. Let the solution cool to room temperature, then place it in your cup. Use the thermometer to check the temperature. Add a teaspoon of citric acid. The solution will fizz and the temperature will drop. Keep adding citric acid and see how low you can make the temperature go. This is an endothermic reaction. Kids can put their fingers into the solution to feel the cold directly. Just wash your hands afterwards.
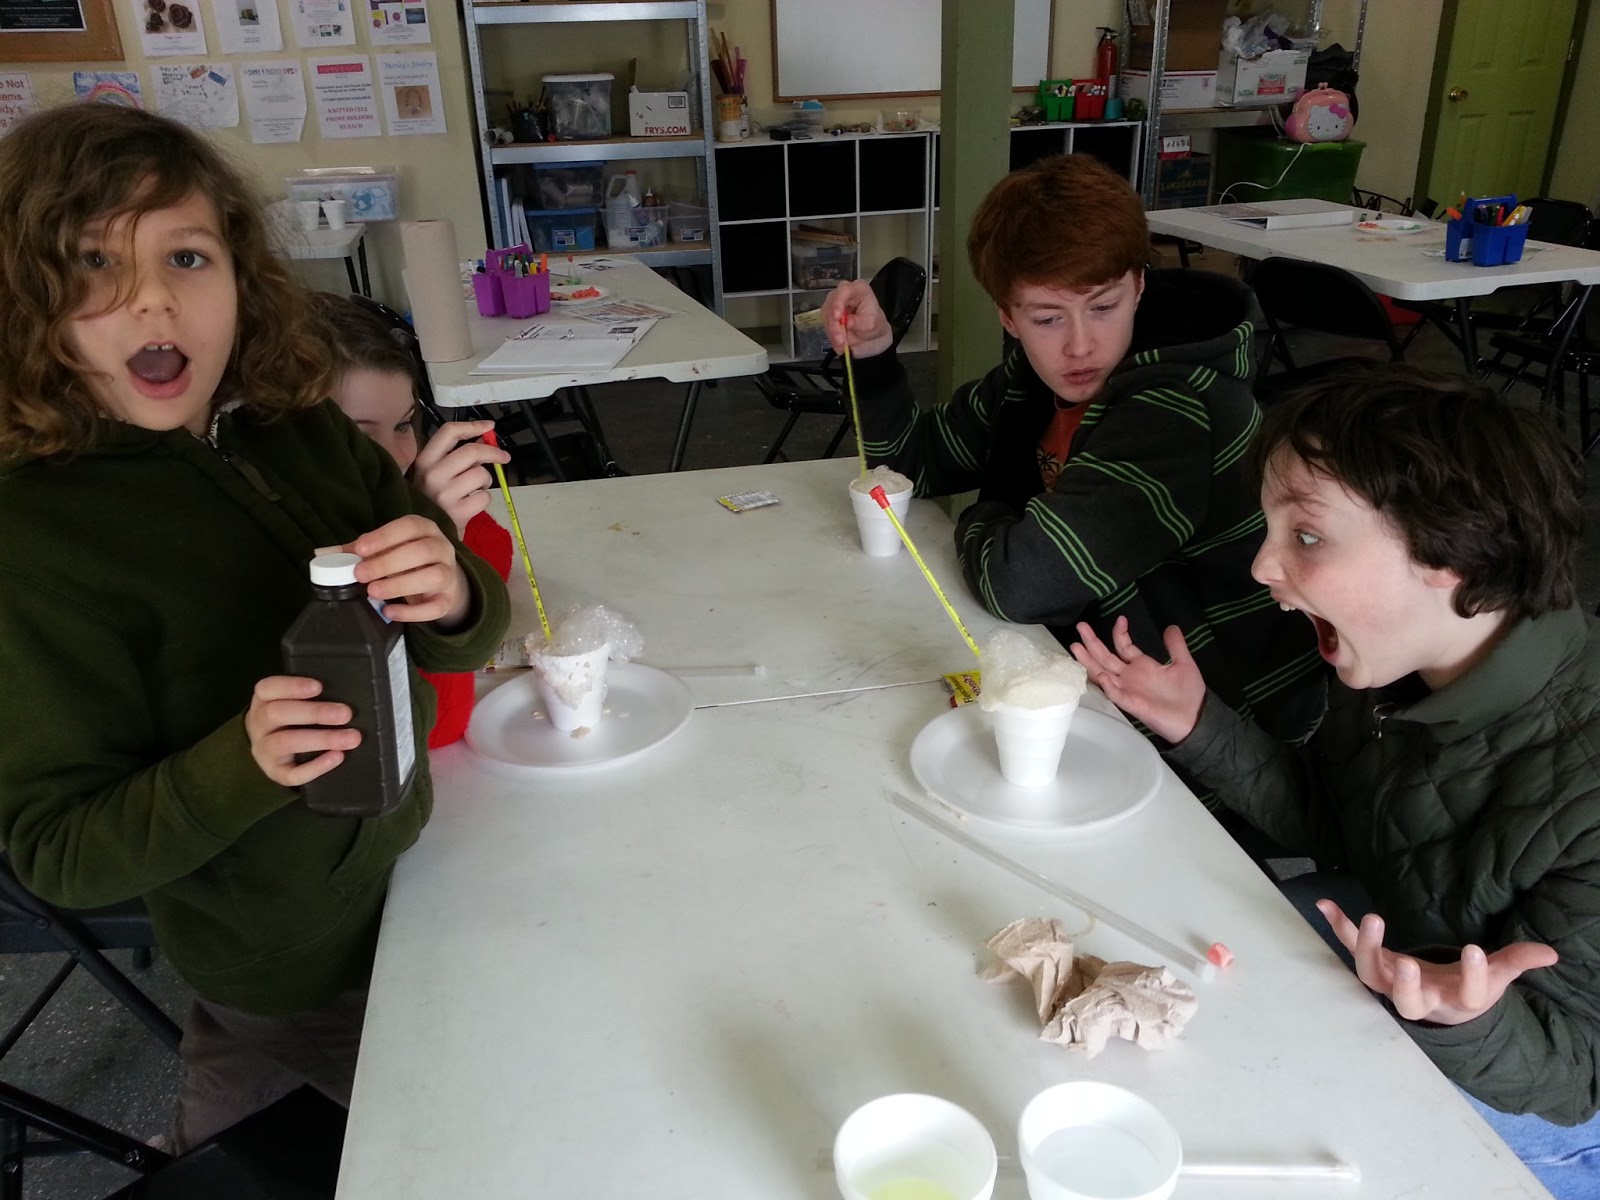
For the second reaction, we're going to generate heat through a decomposition reaction. Fill your cup with hydrogen peroxide. Check the temperature. Slowly add the yeast, a little at a time. Soon you'll have a big bubbling mess and spike in the solution temperature. Keep feeding the reaction. How high will the temperature go? Again, kids can touch the solution without fear.
Older student may enjoy exploring the concepts of enthalpy and entropy as well. Have fun playing! Let me know what you discover!
It's just not summer if I don't break out the catapults and launch marshmallows around the Farmers' Market. So the other week, I brought this easy, classic science activity to Blairstown.
The design for this tongue depressor catapult from a really fun book called Mini Weapons of Mass Destruction by John Austin. I know it sounds dangerous, but with a little parental supervision most designs are quite safe for kids. And so much fun! It's engineering disguised as mayhem!
The basic construction is simple. You stack seven tongue depressors together and use two rubber bands on either end to hold them together. Then take two depressors and attach them with a rubber band on one end. Spread the two depressors into a "V" shape, and insert the stack lengthwise to make a "T" shape. Use another rubber band to secure the depressors together into your catapult. (The book gives clear, step-by-step instructions with diagrams.) For the original design, the author suggests using a hot glue gun to attach a bottle cap as a launcher, but I find it easier to just attach a disposable spoon with another rubber band or two. No electricity needed!
You can make the catapult with popsicle sticks too, though I find a stack of just five is enough. The popsicle sticks are thicker, and a bit harder to work with, but you can get the job done. I also like to make the coat hanger slingshot from the book too, and challenge kids to see which works better. The book has a whole chapter devoted to slingshots, catapults and trebuchets, so kids can have a lot of fun comparing results.
Then it's time to load a mini-marshmallow and get shooting! I like to give kids dixie cups that they can use to make towers. It's fun to knock them down. Dominos are also fun! For some Angry Birds action, paint your marshmallows red and green (or use leftover Christmas-themed ones, like I did here).
Another great catapult design that is easy to make and fun to tinker with comes from a great YouTube video I found years ago. This shoebox catapult is always a hit.